
Understanding Your Leather Bag Type Before Cleaning
Before tackling any stain on your leather bag, it’s essential to identify what type of leather you’re working with. Different leathers react uniquely to cleaning products, and using the wrong method could lead to permanent damage that’s worse than the original stain.
Knowing the specific characteristics of your different leather types before choosing cleaning methods will save you from potentially ruining a cherished accessory. Here’s a breakdown of common leather types and their unique properties:
Full-grain and top-grain leather: These protected leathers are more durable and resistant to stains. They typically have a protective coating that repels minor spills if wiped quickly.
Aniline and semi-aniline leather: These unprotected or semi-protected leathers are more absorbent and prone to staining. They showcase the natural beauty of leather but require extra care.
Suede and nubuck: These require specialized cleaning approaches due to their delicate nap (fuzzy texture). Regular leather cleaners often damage these surfaces.
Patent leather: With its high-gloss finish, patent leather needs specific cleaning methods that won’t strip its signature shine.
Faux/synthetic leather: While generally more stain-resistant, synthetic options need different cleaning products than genuine leather.
A simple water drop test can help you identify your leather type. Place a small drop of water on an inconspicuous area – if it beads up, your leather is protected/finished; if it absorbs quickly, you have unprotected leather. The information about different leather qualities that affect cleaning approaches will help you determine the appropriate cleaning method for your specific bag.
Check your bag’s original packaging or manufacturer tag for specific leather information. When in doubt, always treat your bag as if it’s made from the more delicate leather type.
Essential Cleaning Tools and Products for Leather Care
Assembling the right toolkit before attempting to clean your leather bag can make the difference between successful stain removal and permanent damage. Here’s what you’ll need:
Basic Cleaning Tools:
– White microfiber cloths (colored cloths may transfer dye)
– Cotton swabs for detailed work
– Soft-bristled brushes (nothing abrasive)
– Spray bottle for diluting solutions
– Small containers for mixing cleaning solutions
Cleaning Solutions:
– pH-balanced leather cleaner
– Mild soap (unscented, gentle formulas only)
– Distilled water (tap water may contain minerals)
Stain-Specific Products:
– Cornstarch or talcum powder for oil stains
– Leather-safe ink removers
– Specialized suede cleaners (if applicable)
Conditioning Products:
– Leather conditioner matching your leather type
– Leather protectant spray
– Microfiber applicator pads
Many owners of various leather bags that require proper cleaning tools find that investing in quality products saves money in the long run by extending the life of their accessories.
Household alternatives that can work in emergencies include unscented baby soap, diluted white vinegar solution, and isopropyl alcohol (for certain stains on finished leather only). However, always patch test these alternatives first.
Avoid at all costs: paper towels (they can leave lint and scratch leather), household cleaners containing ammonia or bleach, saddle soap (too harsh for bag leather), and colored cloths that might transfer dye.
Preliminary Steps: Testing and Preparing Your Bag for Cleaning
Before applying any cleaning solution to your leather bag, proper preparation is essential to avoid causing additional damage.
Empty your bag completely: Remove all contents, including items from interior pockets. Unzip all compartments and shake out any debris.
Examine the bag thoroughly: Inspect both exterior and interior surfaces under good lighting to identify all stains and their types.
Identify the stain type: Determine whether you’re dealing with water, oil, ink, food, or other stains, as each requires different treatment methods.
Conduct a patch test: This step is non-negotiable. Apply a small amount of your intended cleaning solution to an inconspicuous area (like the bottom corner or interior). Wait at least 10 minutes to check for discoloration, texture changes, or other adverse reactions.
Prepare your workspace: Set up in a well-lit area with a clean, flat surface. Lay down a towel to protect your work surface and gather all necessary supplies.
Using proper testing techniques before cleaning leather items can prevent heartbreaking damage to treasured accessories. When performing your patch test, look for any color transfer onto your cloth, darkening of the leather, or changes in texture – these are warning signs that your cleaning method may be too harsh.
The time invested in these preliminary steps will save you from potential regret later. Remember that different areas of the same bag might react differently to cleaning products, so when in doubt, always test each section.
Routine Leather Bag Maintenance: Preventing Stains Before They Happen
The best stain treatment is prevention. Implementing a consistent maintenance routine dramatically reduces the chance of stains becoming permanent problems. With just minutes of care spread throughout the week, you can keep your leather bag looking pristine for years.
Daily Habits (30 seconds):
– Wipe down your bag with a clean, dry microfiber cloth at the end of each day
– Keep hand sanitizer and lotions away from leather surfaces
– Handle with clean hands to prevent oil transfer
Weekly Routine (5 minutes):
– Dust thoroughly with a soft cloth
– Inspect for new stains or trouble spots
– Gently clean any small marks with a slightly damp cloth
– Ensure proper storage when not in use
Monthly Care (15 minutes):
– Apply appropriate leather conditioner
– Check hardware and stress points for wear
– Address any small stains before they set
Developing comprehensive maintenance routines for leather bags is significantly easier than trying to remove set-in stains. Bags that receive regular maintenance not only remain stain-free but also develop a beautiful patina over time rather than becoming dried out and cracked.
The investment in preventative care is minimal compared to the cost of professional restoration or replacement of a damaged leather bag. Just 5-10 minutes per week can add years to your bag’s lifespan.
Water Stain Removal: Techniques for Different Leather Types
Water stains on leather create those distinctive ring marks when minerals and impurities in the water remain after the moisture evaporates. The approach to removing these stains varies significantly by leather type.
For Fresh Water Spills:
1. Blot immediately with a clean, absorbent cloth
2. Do not rub, as this pushes moisture deeper into the leather
3. Allow to air dry naturally away from direct heat
4. Apply gentle pressure with dry cloths to absorb moisture
For Dried Water Stains on Finished Leather:
1. Dampen a clean cloth with distilled water
2. Gently wipe the entire panel containing the stain, not just the stain itself
3. This creates even moisture distribution to prevent new ring formation
4. Allow to dry naturally, then condition once completely dry
Owners of high-quality leather bags that require special care for water stains often find that patience is crucial during the drying process. Never use hairdryers or heaters, as forced heat causes leather to crack and shrink.
For Suede and Nubuck:
1. Allow the area to dry completely
2. Use a specialized suede brush to gently restore the nap
3. For stubborn water stains, a suede eraser may help
4. Apply suede protector after cleaning
Water stains on leather create rings because the water carries dissolved substances to the edge of the dampened area as it evaporates. By wetting the entire panel evenly, you prevent these edge deposits from forming, allowing for more uniform drying.
Oil and Grease Stain Removal: Absorption Methods That Work
Oil stains are particularly challenging because water-based cleaners won’t dissolve them, and improper treatment can spread the stain further. The key principle in removing oil stains is absorption rather than scrubbing.
For Fresh Oil or Grease Spills:
1. Blot immediately (don’t rub) with a clean cloth to remove excess oil
2. Apply cornstarch, talcum powder, or baking soda directly to the stain
3. Gently press the powder into the stain without rubbing
4. Allow the powder to sit for 4-8 hours (preferably overnight)
5. Brush away the powder gently with a soft cloth
6. Repeat if necessary until no more oil is absorbed
For Stubborn or Set-in Oil Stains:
1. Apply powder as above, but cover with a clean cloth
2. Place a small weight on top to maintain contact
3. Leave for 12-24 hours, checking periodically
4. Brush away powder and assess results
5. If stain persists, try a leather-specific degreaser (after patch testing)
Oil-rich leathers that require specific cleaning techniques often respond well to these absorption methods, but they require patience. The powder works by drawing oil out of the leather through capillary action, which takes time.
After successful oil removal, conditioning is essential as the absorption process removes the leather’s natural oils along with the stain. Apply an appropriate conditioner to prevent the area from drying out and becoming stiff or discolored.
Common household oils that frequently cause bag stains include hand lotions, food oils, makeup, and natural oils from your hands. Regular cleaning prevents these oils from accumulating and becoming more difficult to remove.
Ink Stain Challenges: Handling the Most Difficult Leather Stains
Ink stains rank among the most challenging leather stains to remove because ink penetrates deeply into leather fibers and is designed to be permanent. Success depends largely on the ink type, leather type, and how quickly you address the stain.
For Fresh Ink Stains on Finished Leather:
1. Blot immediately (never rub) to remove excess ink
2. Dampen a cotton ball with isopropyl alcohol (90% or higher)
3. Test in an inconspicuous area first
4. Gently dab (don’t rub) the stained area, working from outside in
5. Change cotton balls frequently to prevent spreading the ink
6. Follow with leather conditioner once dry
Important Caution: Alcohol can damage unfinished or dyed leather. Only use on protected leather after successful patch testing.
For Ballpoint Ink vs. Fountain Pen Ink:
– Ballpoint ink is oil-based and responds better to alcohol-based treatments
– Fountain pen ink is water-based and may respond to mild soap solutions
– Permanent marker contains solvents and is extremely difficult to remove
The chemical interaction between ink and leather happens because ink dyes bond with leather proteins. The longer the ink sits, the stronger this bond becomes, which is why immediate treatment is crucial. After 24 hours, the success rate for DIY ink removal drops significantly.
For valuable bags or set-in ink stains, professional cleaning is recommended. When DIY methods cause color fading or leather damage, stop immediately and consult a professional.
Food and Beverage Stain Solutions for Leather Bags
Food and beverage stains combine multiple challenges: they may contain oils, proteins, tannins, and sugars that each require different cleaning approaches. Swift action is your best defense against these common accidents.
General Approach for Fresh Food/Beverage Spills:
1. Blot immediately with a clean, dry cloth
2. For liquid spills, continue blotting until no more liquid transfers
3. For solid foods, gently scrape away residue with a plastic card
4. Create a mild cleaning solution (1-2 drops of gentle soap in distilled water)
5. Dampen a cloth with the solution and gently clean the affected area
6. Wipe with a clean, damp cloth to remove soap residue
7. Allow to air dry completely
Coffee and Tea Stains:
– These contain tannins that bond quickly with leather proteins
– Use the general approach above, but act quickly
– For set-in coffee stains, a specialized leather cleaner may be necessary
– Condition after cleaning to restore moisture
Wine Stains:
– Blot immediately to remove as much liquid as possible
– Avoid home remedies like salt or club soda on leather
– Use a specialized leather cleaner formulated for red wine
– Deep red wines may require professional cleaning
Sugar-Containing Beverages:
– Clean thoroughly to remove all sticky residue
– Sugar can attract dirt and create compound staining if not fully removed
– Pay special attention to seams and hardware where sticky residue hides
Foods with high fat content (butter, salad dressing) leave oily residues that should be treated with the oil stain absorption method after the initial cleaning.
Color Transfer and Dye Stain Management
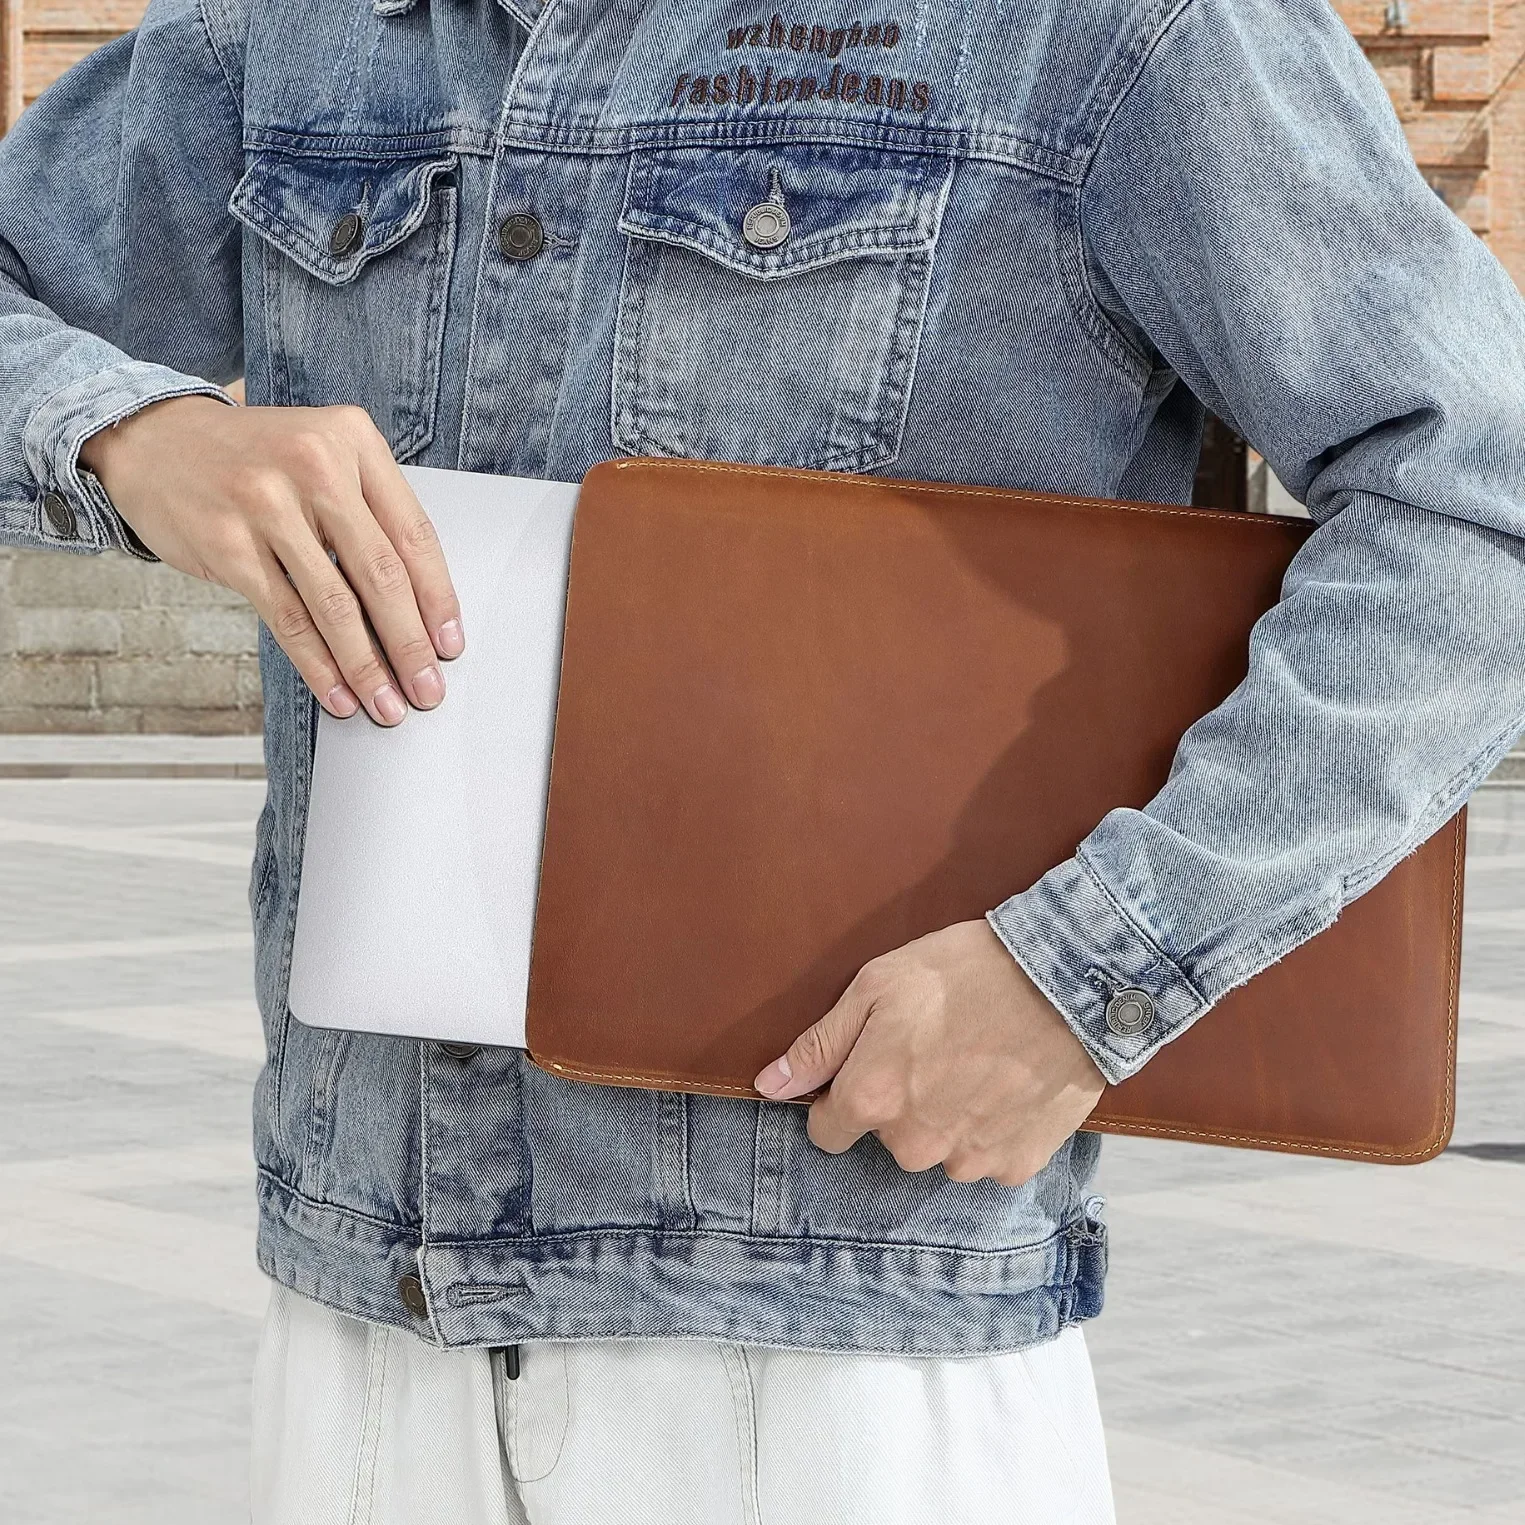
Color transfer occurs when dye from clothing, newspapers, or other items migrates onto your leather bag. These stains are particularly common with light-colored leather coming into contact with dark denim or brightly colored items.
For Light Color Transfer:
1. Try a quality leather cleaner designed for your specific leather type
2. Apply with a soft cloth using gentle circular motions
3. Work from the outside of the stain toward the center
4. Allow to dry between applications
5. Condition after cleaning
For Stubborn Dye Transfer:
– Commercial leather stain removers may help with fresh transfers
– Always test in an inconspicuous area first
– Multiple gentle applications are better than one aggressive attempt
– Set-in dye transfer on light leathers may require professional cleaning
Prevention Strategies:
– Be cautious when wearing new, dark denim with light leather bags
– Avoid placing leather bags on newspaper, magazines, or colored textiles
– Consider using a dust bag or protective barrier when not in use
– Apply leather protectant sprays designed for your specific leather type
Dye transfer is challenging because the colorant molecules actually penetrate and bond with leather fibers, similar to how leather is dyed during manufacturing. Light-colored bags are at much higher risk, and realistic expectations are important – some severe dye transfers may never completely disappear.
Mold and Mildew: Addressing Biological Stains on Leather
Mold and mildew develop on leather when bags are stored in humid, dark environments without proper air circulation. Beyond the unsightly staining, these biological contaminants can trigger allergies and respiratory issues, making prompt treatment essential.
Safe Removal Process:
1. Move to a well-ventilated area and wear a mask during cleaning
2. Vacuum surface gently with a soft brush attachment
3. Create a solution of equal parts white vinegar and water
4. Dampen a cloth with the solution and wring until barely damp
5. Gently wipe affected areas
6. Allow to dry completely in a well-ventilated area away from direct sunlight
7. Apply leather conditioner once completely dry
Prevention Strategies:
1. Store leather bags in cool, dry places with good air circulation
2. Use silica gel packets inside bags during storage
3. Remove from dust bags periodically to allow air circulation
4. Never store leather in plastic bags or containers
5. Address any dampness immediately
Following proper storage techniques to prevent mold and mildew will save you from dealing with these difficult stains. Mold develops on leather because it provides an organic food source in combination with moisture and warmth. The spores are always present in the environment, waiting for suitable conditions to grow.
After cleaning mold or mildew, thorough drying is critical. Consider using a fan to circulate air (not directed at the bag) and ensure the bag is completely dry before storing to prevent recurrence.
Post-Cleaning Essentials: Conditioning and Protecting Your Leather
Every cleaning method, no matter how gentle, removes some of the natural oils from leather. Without proper replenishment through conditioning, leather can dry out, crack, and become permanently damaged. Conditioning is not optional—it’s a critical final step in any cleaning process.
Proper Conditioning Process:
1. Ensure the bag is completely dry before conditioning
2. Select a conditioner formulated for your specific leather type
3. Apply a small amount to a soft cloth (never directly to the leather)
4. Work in small sections using gentle circular motions
5. Allow conditioner to absorb for the time specified on the product
6. Buff gently with a clean cloth to remove excess
7. Allow 24 hours for full absorption before using the bag
Protective Treatments:
1. Once conditioned and fully dry, consider applying a leather protectant
2. Choose a product designed for your leather type
3. Apply in a well-ventilated area according to manufacturer instructions
4. Allow to dry completely before using the bag
Quality leather bags that benefit from proper conditioning will develop a rich patina over time rather than drying out and cracking. Conditioning creates a water-resistant barrier by replenishing the oils that give leather its supple flexibility.

Men's Classic Leather Briefcase, Slim Leather Laptop Briefcase, Slim Leather Portfolio Briefcase
$93.67 Select options This product has multiple variants. The options may be chosen on the product page
Brown Leather Work Tote, Large Leather Work Tote
$194.38 Select options This product has multiple variants. The options may be chosen on the product page
Leather Laptop Work Tote, Tan Leather Work Tote, Women's Leather Work Tote, Zippered Leather Work Tote
Price range: $223.62 through $237.97 Select options This product has multiple variants. The options may be chosen on the product page
Classic Laptop Briefcase, Men's Classic Leather Briefcase, Slim Leather Attache Case
Price range: $353.50 through $360.81 Select options This product has multiple variants. The options may be chosen on the product page
Black Leather Briefcase, Leather Document Bag, Men's Classic Leather Briefcase
Genuine Crocodile Leather Executive Briefcase with Password Lock – Premium Business Document Carrier$1,201.87 Select options This product has multiple variants. The options may be chosen on the product page

Canvas & Leather Messenger Bag, Leather Commuter Tote
$80.41 Select options This product has multiple variants. The options may be chosen on the product page
A properly conditioned leather bag feels soft and flexible, not sticky or greasy. If your bag feels stiff or makes a cracking sound when flexed, it’s overdue for conditioning. Most bags benefit from conditioning every 3-6 months, but those exposed to harsh conditions may need more frequent care.
Professional Leather Care: When to Seek Expert Help
While many stains can be addressed at home, certain situations call for professional expertise. Understanding when to attempt DIY cleaning versus when to seek professional help can save you from causing irreversible damage to valuable leather items.
Consider Professional Help When:
- Your bag is a high-value designer piece or sentimental item
- You’re dealing with exotic leather (python, alligator, etc.)
- The stain has been present for weeks or months
- DIY attempts have failed or made the stain worse
- The leather is extremely delicate (aniline) or unusually finished
- You’re facing extensive staining across multiple areas
- There’s mold damage throughout the bag
Professional leather cleaners have access to specialized solutions and techniques not available to consumers. They can also safely disassemble and reassemble components when necessary to address interior staining or hardware issues.
When selecting a leather cleaning service, look for specialists with experience cleaning handbags specifically, not just general leather goods or furniture. Ask about their process, what solutions they use, and whether they can provide examples of similar work they’ve done.
The cost of professional cleaning typically ranges from $50-200 depending on the bag’s size, condition, and brand, which is often a worthwhile investment compared to replacing a cherished or expensive leather bag.
Preventative Strategies: Daily Habits for Pristine Leather Bags
Implementing simple preventative habits dramatically reduces the likelihood of stains and extends your bag’s lifespan. These easy practices take minimal time but deliver significant protection.
Handling Practices:
– Always handle with clean, dry hands
– Avoid contact after applying lotions or sanitizers
– Hold by the straps or handles, not the body
– Be conscious of rings or jewelry that might scratch
Strategic Placement:
– Avoid placing bags on floors, especially in restaurants or public spaces
– Use bag hooks when available
– Keep away from potentially staining surfaces like newspaper or magazines
– Store on shelves rather than hooks to maintain shape
Interior Organization:
– Use sealed containers for cosmetics and liquids
– Carry pens with caps securely fastened
– Consider a bag organizer to prevent spills from loose items
– Clean the interior regularly to remove crumbs and debris
Establishing daily habits for maintaining leather bags in optimal condition prevents most common staining scenarios. For example, simply making a habit of wiping your bag down each evening removes oils and environmental pollutants before they can penetrate the leather.
Rotating between multiple bags allows each one to “rest” and recover its shape while extending the life of all your bags. This practice also gives you the opportunity to condition and clean each bag more thoroughly during its rest period.
FAQ: Common Leather Cleaning Questions Answered
Can I use vinegar to clean my leather bag?
Diluted white vinegar (50/50 with water) can be used sparingly for mold and mildew. However, it’s too acidic for regular cleaning and may damage dyed leathers. Use only on finished leather after patch testing.
How often should I clean and condition my leather bag?
Light cleaning can be done weekly with a dry or slightly damp cloth. Deep cleaning should only be done when necessary to address stains. Conditioning typically should be done every 3-6 months depending on climate and use.
Can I use baby wipes on leather in an emergency?
Unscented, alcohol-free baby wipes can be used for very gentle spot cleaning in emergencies, but they’re not ideal for leather. Wipe again with a dry cloth immediately and condition the area once you’re able.
How do I remove odors from my leather bag?
Air the bag in a well-ventilated area away from direct sunlight. For persistent odors, place an open container of baking soda inside the bag overnight (not directly on leather). Commercial leather deodorizers are also available.
Is olive oil good for conditioning leather?
No. Despite popular advice, olive oil eventually turns rancid and can damage leather. Always use products specifically formulated for leather conditioning.
Can I use Armor All or similar automotive products?
No. These products contain silicone and petroleum distillates that can damage fine leather over time. Stick with cleaners and conditioners specifically formulated for leather accessories.
What Not To Do: Common Mistakes That Damage Leather Bags
Avoiding these common leather care mistakes will prevent unintentional damage that often proves irreversible.
Never Use These Products on Leather:
– Bleach, ammonia, or other harsh chemicals
– Alcohol-based products (except in specific circumstances)
– Furniture polish or automotive care products
– Standard household cleaners
– Magic erasers or abrasive cleaners
Avoid These Damaging Practices:
– Soaking or saturating leather with water
– Using hairdryers, radiators, or heaters to speed drying
– Scrubbing vigorously with brushes or abrasive cloths
– Applying too much product (more is not better)
– Using colored cloths that might transfer dye
– Storing in plastic bags or containers
Don’t Skip These Critical Steps:
– Patch testing before applying any new product
– Conditioning after cleaning
– Allowing proper drying time between steps
– Cleaning the entire panel, not just the stained area
Chemical damage occurs because leather is an organic material that reacts with harsh compounds. Ammonia and bleach break down the protein fibers in leather, causing permanent brittleness and cracking. Similarly, excessive heat forces moisture out too quickly, leading to shrinkage and cracking.
The most common mistake is impatience—rushing through the cleaning process or using excessive amounts of product in hopes of faster results. With leather care, gentle and patient approaches almost always yield better outcomes than aggressive treatments.